Words: Kobus Bresler | Video: Adventure Sports & Urbancrag www.youtube.com/watch?v=mFSaFu0FpVw & www.youtube.com/watch?v=2-a0FLqwPL8
“After climbing a great hill, one only finds that there are many more hills to climb.” - Nelson Mandela. I am a rock climber and despite not getting to the crags as often as I used to, I still love the sport and every outing feels like it is my first. I blame this on addiction, which is inevitable with such a bare-knuckle pursuit. Sadly, many people also get put off the sport due to a poor introduction. I was introduced to climbing by a friend 14 years ago and not exactly in the right manner either. At the time, I had no clue what it entailed and for the most part thought it was crazy. It looked extremely cool though and I wanted to give it a go. My friend was more than willing to push me along and my first-ever climb was a successful grade 21 lead climb on traditional gear up a 25 metre rock face.
The basics
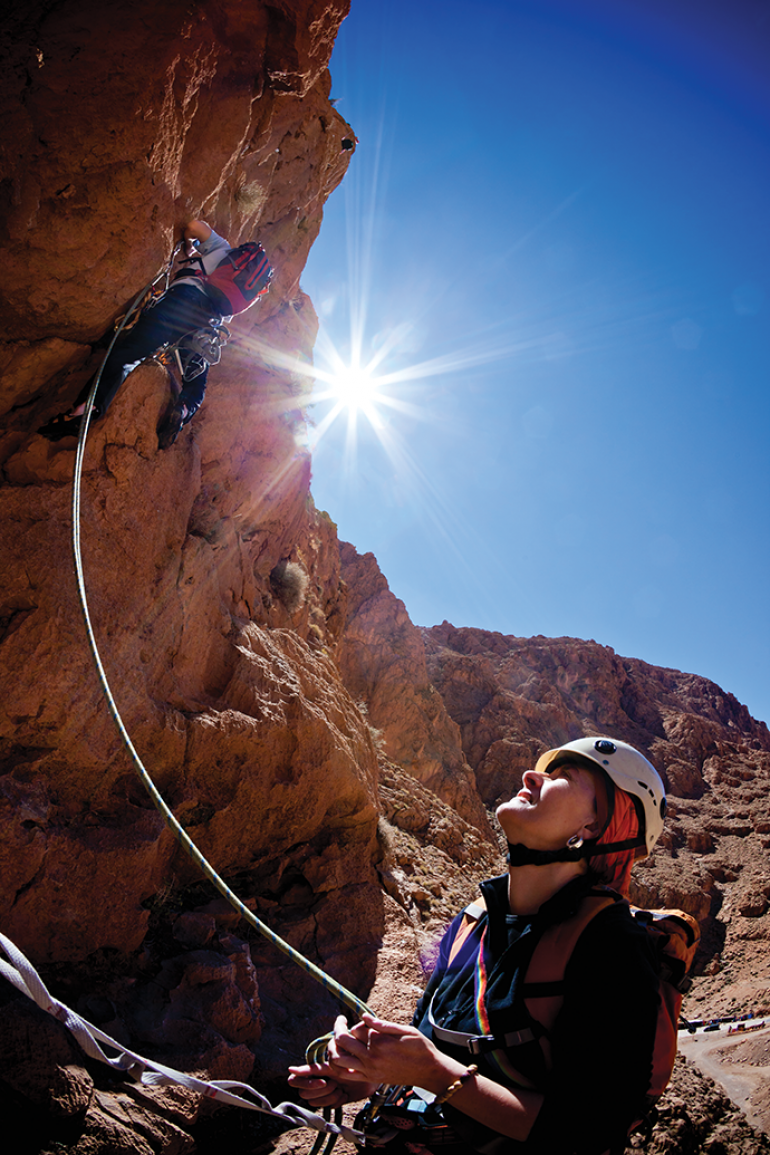
When starting out, your climbing technique is of no real importance because it will develop the more you get on the wall. At first, your main focus should be on safety, enjoyment and building confidence. What is critical during these early stages is understanding how to use your basic gear, learning the correct belaying techniques and how to tie one or two knots.
Belaying - This basically means creating friction between the rope and belay device. This halts the fall and allows the belayer, the person holding the rope, control over the climber’s safety. Belaying is probably the most important safety technique you will learn and forms the basis of any safe climb. It is an extremely easy technique to learn and once mastered, you will never forget it. I would love to go into more detail about the correct techniques, but space doesn't allow for it. So, the video above provides a simplified explanation of this technique and you will also find numerous books and web articles that demonstrate the right techniques to use, based mainly on the equipment you use. However, I cannot overemphasize the fact that no article or book can ever replace proper instruction. Find someone to teach you and practise with you until you are comfortable or ask your climbing gym to help.
Knots - There are lots of different knots needed during climbing and as you progress, these will become more significant. In the beginning, I suggest focussing on only one; the figure-eight knot and some of its variants. This is one of the most important knots you will learn to do and is often used for tying onto your harness and other safety points. It is frequently used in rope anchor set-ups and numerous other safety applications where knot slippage is not an option. At this stage, you will only use the figure-eight knot to tie the rope onto your harness. Practise it until you are comfortable doing it correctly and on your own.
This knot has two variations, which you will use to connect the harness and rope; the retrace figure eight and figure-eight loop. Both create a loop at the end where the harness connects. The above video clearly demonstrates how to make a basic figure eight, as well as a retrace figure eight and attach it onto the harness followed by your stopper or safety back-up knot.
Another important aspect of knot making is the dressing of knots. This means ending up with a neat and clean looking knot. Ensure there are no sharp bends or unnecessary folds in the knot and that it has a neat appearance. This is good practise and will contribute to the lifespan of the rope. Some knots can reduce the strength of the rope, at that point, by up to 30%. If a knot is correctly made and neatly dressed, it will always reduce this figure. The guys at your climbing gym should be able to teach you correct knot making and it is always good to have someone double check your efforts.
Important Equipment
The final aspect that is important in the early stages is understanding your equipment. I recommend you first rent gear at the gym until you are happy with your progress and the climbing bug has bitten, which inevitably it will. Try and avoid borrowing gear from others as you can never be sure how well maintained their equipment is. If you do decide to purchase equipment right away, then I suggest investing in four pieces initially. These are a harness, belay device, locking carabiner and helmet.
Harness - The harness is the critical point connecting you to the safety rope. There are lots of brands, all with their own variations and models, available on the market. We really are spoilt for choice, but choose carefully and correctly from day one. Shop around and never take the first option you find. Buying the same harness as your experienced buddy is also not the answer, as harnesses offer varying degrees of adjustment and comfort and are, in some cases, also gender specific. Ask the sales person for their input and insist on fitting it in store. My suggestion is to look at harnesses that are designed for both sport and gym climbing. Read the manual carefully, as it will provide lots of important and useful information.
Belay device and carabiner - The first hardware you will need includes a belay device and carabiner. There are lots of different options here and this can be very confusing. More experienced climbers will all have their device of choice, but this may not be what you are comfortable with. Ask the gym to let you use different devices until you find something you like. My suggestion is to look for something simple and basic. If you are new to the sport, you will want to eliminate any confusion so that you can rather focus on your climbing. At the same time, purchase a locking carabiner.
Helmet - The last piece of equipment you will need at this stage is your helmet. It is seldom that you will see someone climbing with a helmet on indoor walls and shorter rock routes. I personally prefer not to climb with a helmet, but when I started out this was very different. It provides security and prevents injury, which is always vital, especially in the beginning. Eliminate anything that can hurt and scare you, as you are trying to build confidence. I always use a helmet when belaying at a rock face, as you often find small pieces of rock falling off the face and if the rocks hit you on the head it will hurt due to the velocity built up while hurtling down towards you. Eliminate these dangers and focus on your safety and that of your climbing partner. You are no good as a belayer if you are lying unconscious at the foot of the climb.
Now that we have taken a few steps in the right direction with your climbing progression, visit your climbing gym and work on the skills explained in this article. Once you are comfortable with the techniques and equipment, you will be ready to challenge yourself further and start focusing on climbing technique. In the next issue, I will look at bouldering and some more equipment and techniques, as well as climbing calls.
Until next time, have fun and be safe!
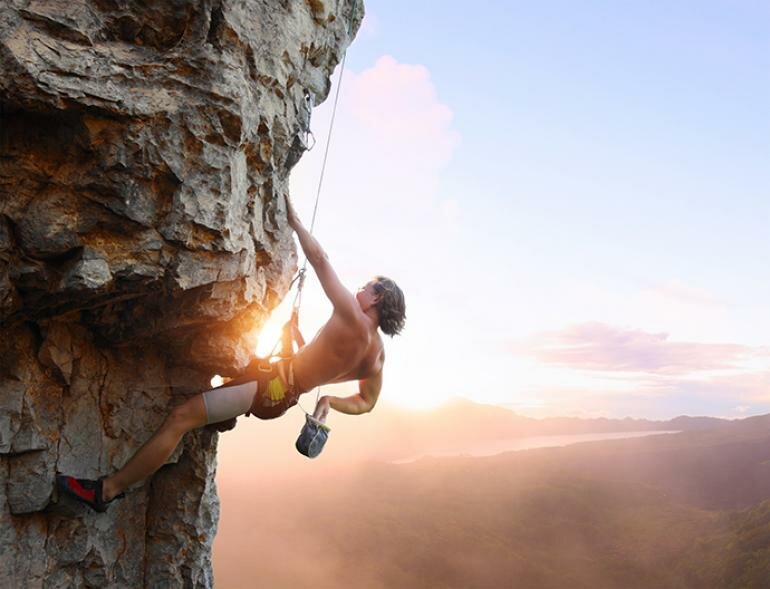
What that basically means is that my friend and I were idiots, as no one should be introduced in this way. If anything went wrong that day, it would most certainly have put me off the sport forever. Fortunately for me, it went quite well and also showed that I had some climbing potential.
Climbing progression
Over the years, I have been privileged to introduce many friends and co-workers to rock climbing and have always stuck to one principle. Climbing is a progression, just like most other things in this world. You don’t simply jump into a car and drive it safely. You have to learn how to shift the gears and clutch control, use your mirrors and so on. If you don’t get the basics right, you will more than likely drive into the first tree and crash, and it will be years before you get enough nerve up to sit behind the wheel again. My advice is to always start off slowly, to take your time. The rocks aren’t going anywhere and it is preferable to get to them with a positive mindset and all your fingers and toes intact.
I would suggest that any newcomer to the sport starts off with top rope climbing that's followed by some bouldering. Once you are comfortable with both these disciplines, you can progress to sport climbing and beyond. So let’s look at top rope climbing and the basics involved with it.
Top rope climbing
With top rope climbing, the one end of the rope is attached to the climber’s harness and passes through a set of anchors at the top of the climb and back down to the belayer (someone who holds the rope for a climber). This simply means that the climber will fall only as much as the slack in the rope, so it will generally be a very short fall and not serious. This form of climbing provides a lot of safety and is a great way to boost your confidence and build your technique. In saying that, it is important to remember that the safety is provided by the belayer using the correct action; keeping the rope fairly tight and in the correct position. It therefore makes sense that the person belaying should know what they’re doing. During this early learning phase, be sure to investigate your local crags for important route information on gradings and equipment requirements. We have bolted climbing crags all over South Africa, but on many routes you may need someone to climb first, to set-up a top rope for you. This means you will need an experienced climber with the correct gear and climbing ability. If you decide to follow this route, my advice is that you start at the lower gradings, starting at grade 8 and working up to grade 15, but only top roping. If you have never climbed before there is no point in visiting a crag that only offers harder routes. For some this may be really easy, but you need to start somewhere and figure out what you are comfortable with.
An alternative is to start out at a climbing gym, where you can get proper instruction. An added bonus is that an artificial wall provides some sort of assurance as opposed to a sheer rock face in the hills. Furthermore, the impact on your hands, fingers and other body parts is not as intense on a climbing wall as compared to the rough edges and course surface of a rock face. You also won’t have to deal with loose rocks and the natural elements. This is certainly the best way to introduce yourself to climbing as every step on the ladder will boost your confidence and keep you moving to the next rung. Never allow anyone to force you to move to the next level; don't give in to peer pressure. You should always be comfortable with your own progress and feel confident before going to the next level. You have nothing to prove and if done correctly, while having fun, you will have a lot to gain.


